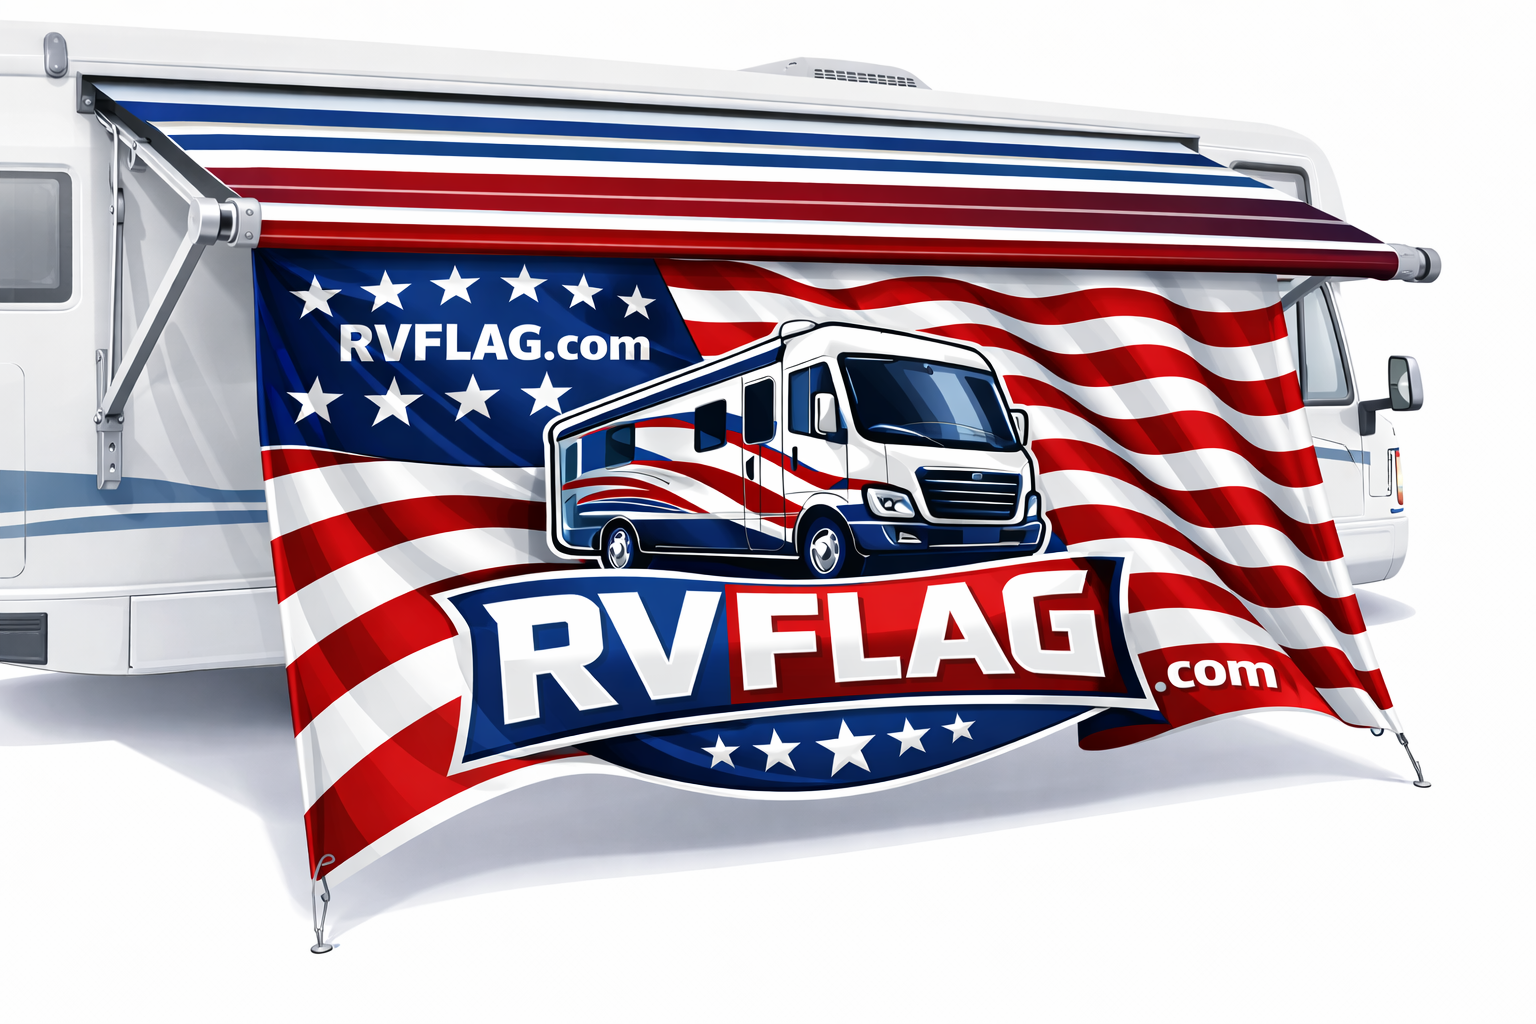
Installation Guide
Simple, tool-free installation in under 5 minutes. Follow our step-by-step guide below.
Step-by-Step Instructions
Prepare Your Awning
Fully extend your RV awning according to the manufacturer's guidelines, ensuring it is properly supported and stable.
Locate the Awning Channel
Identify the awning slot access point, typically located at one end of your awning near or beneath the end cap. This channel runs the length of your awning.
Insert Your RVFlag
Gently insert the reinforced cord end of your RVFlag into the awning channel. Slide the flag smoothly toward the center of your awning, taking care not to apply downward pressure on the extended awning fabric.
Ready for Adventure
Your installation is complete! Your RVFlag will automatically display each time you extend your awning and retract safely when you close it—protected and ready for your next destination.
Video Installation Guide
Follow along with our comprehensive visual tutorial for optimal results